Accessibility:
Layout is on the second floor via front door, not wheelchair accessible. Two level benchwork and wide aisles.
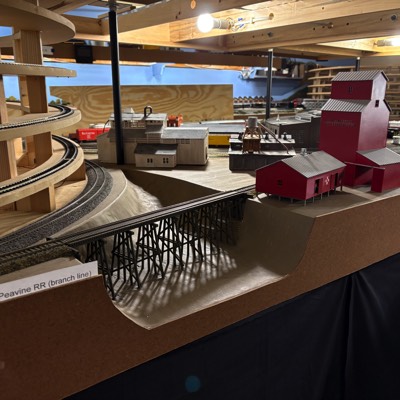
Layout Description:The Burlington & Santa Fe is a fictitious layout that operated during the 1950s and 1960s in various Midwest regions. It has been designed for hands on operating with JMRI generating work for a 9 man crew. A few operating sessions have been held, but much work remains to final completion and operations will change as locations are added.
Crew:3 - Road Engineers
3 - Yard Masters
1 - Interchange Yard Master
1 - Industrial Park Master
1 - Dispatcher
Operations Scheme:
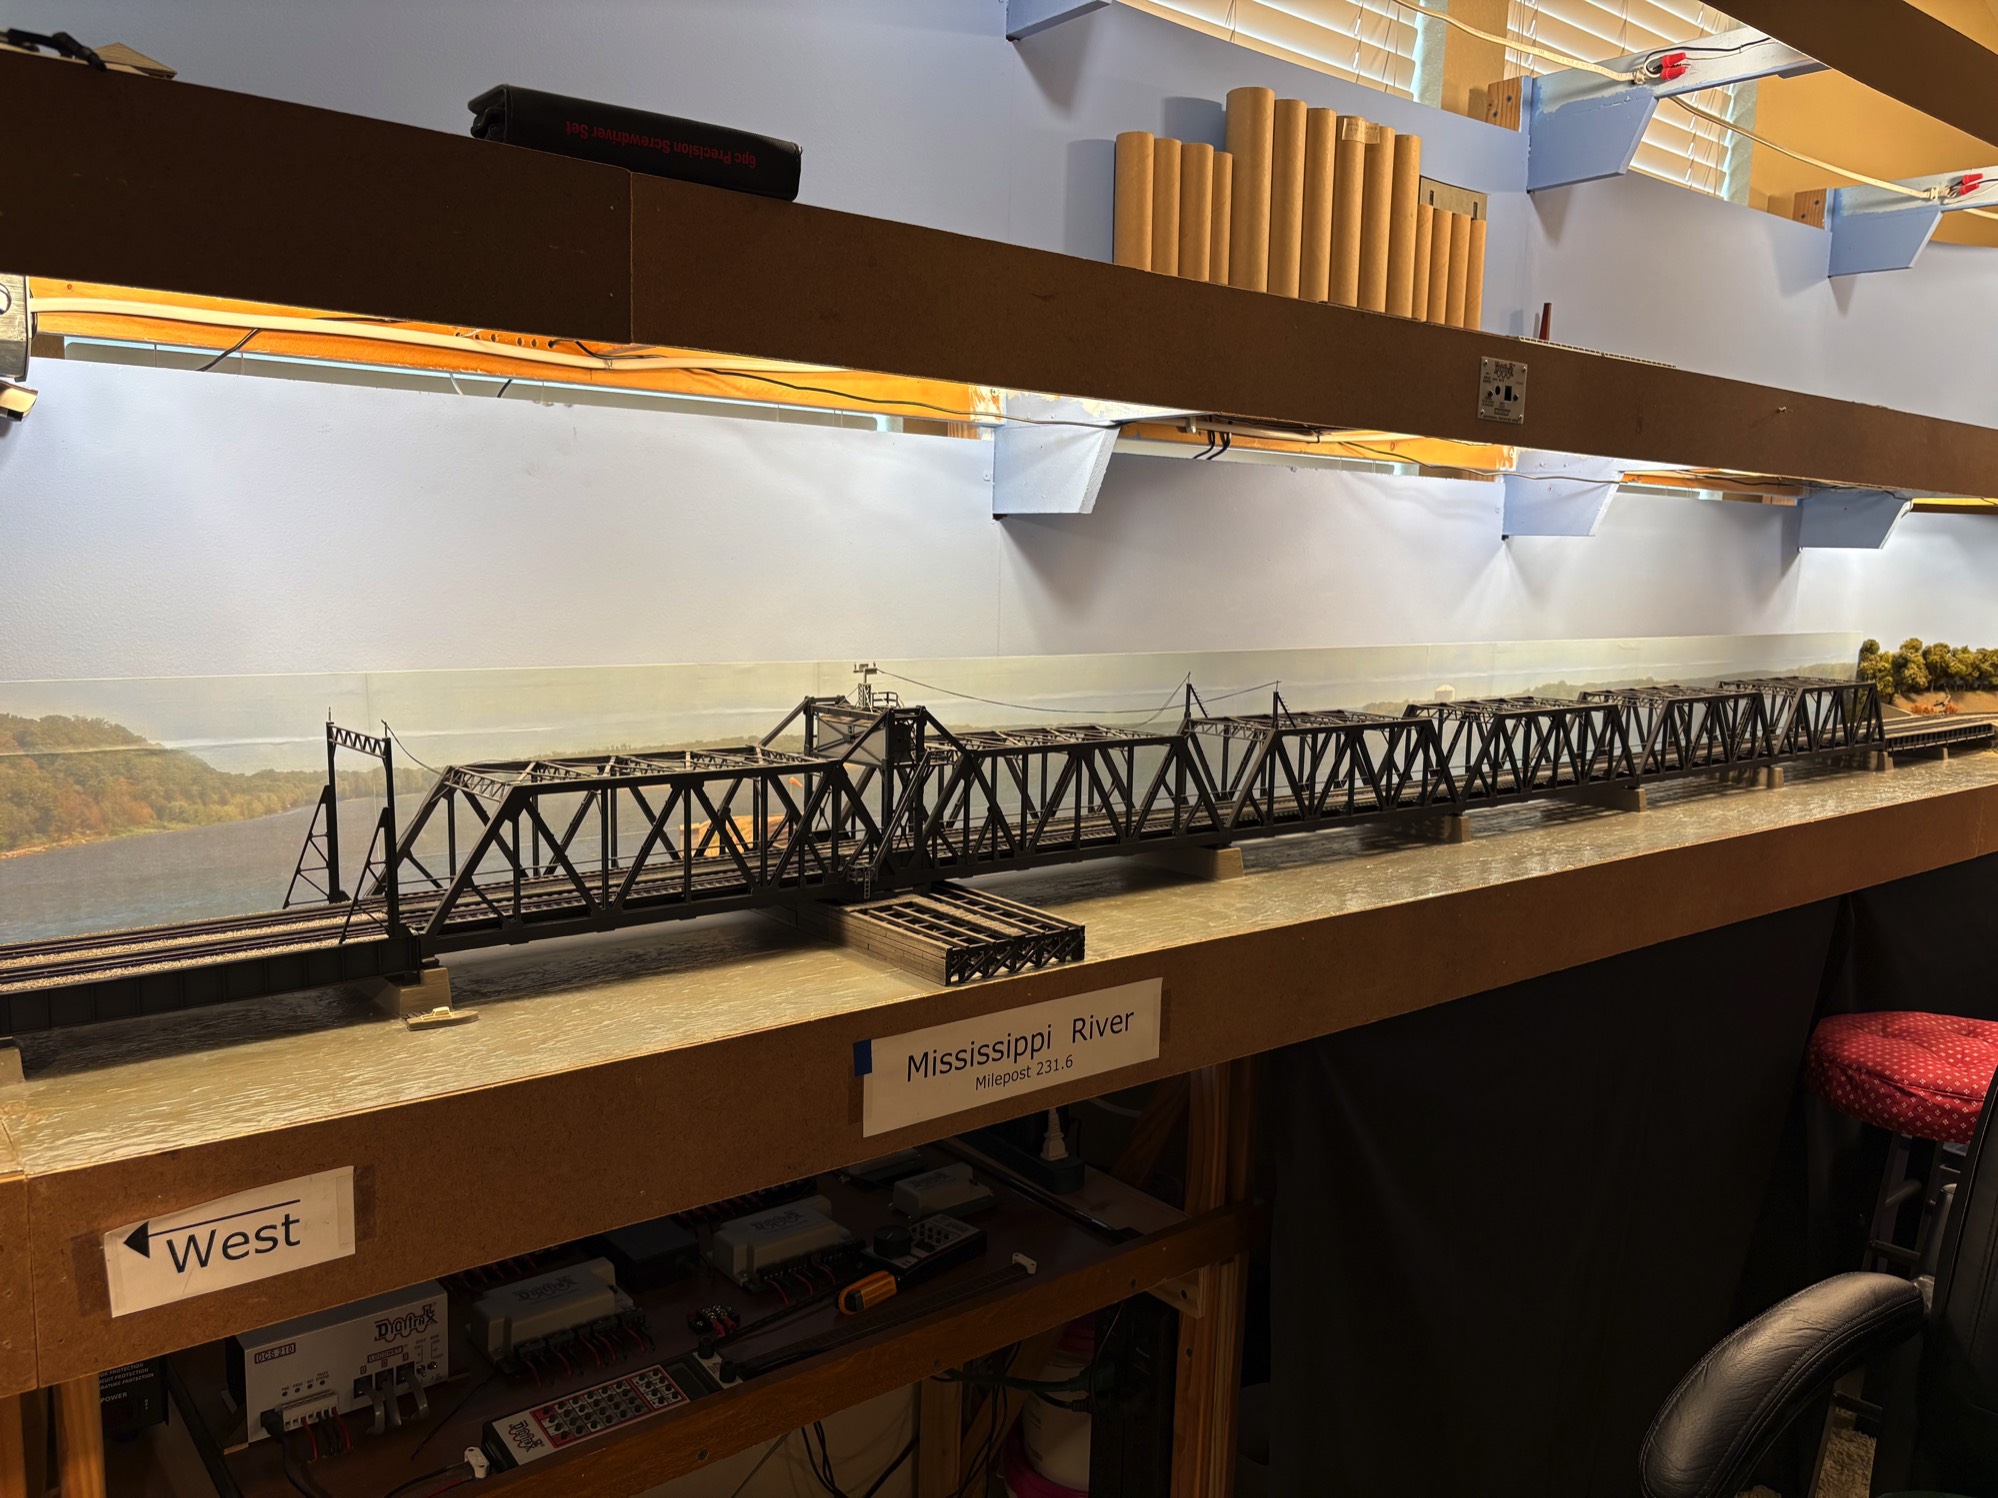
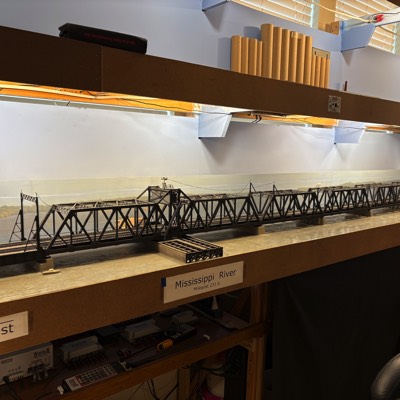
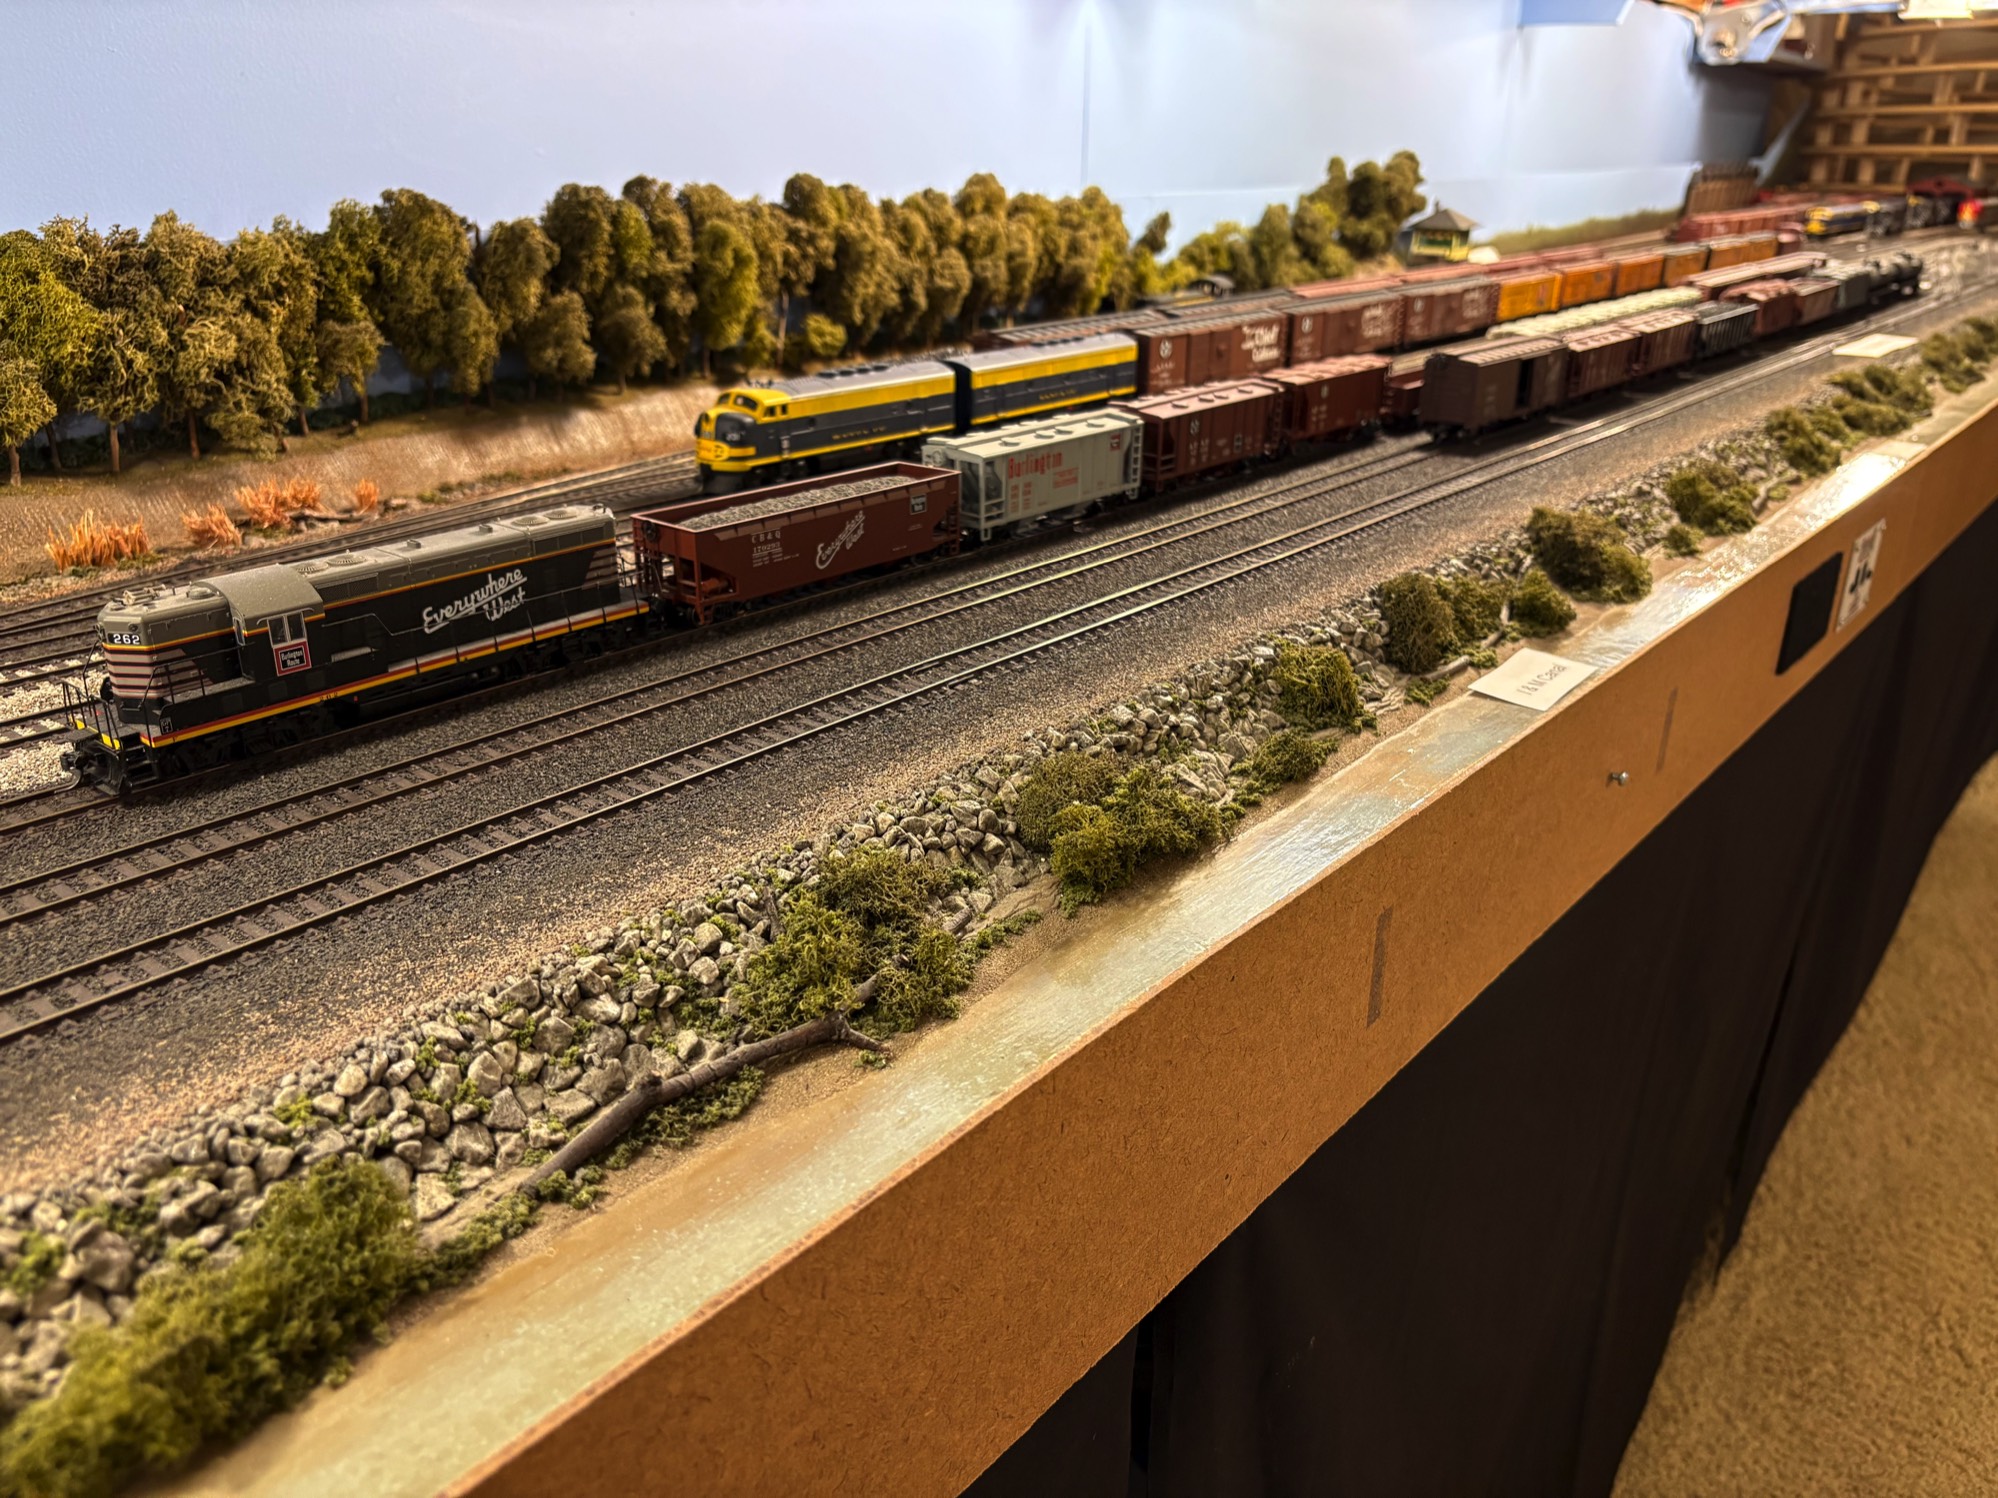
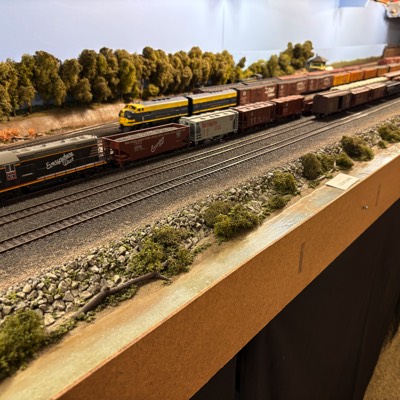
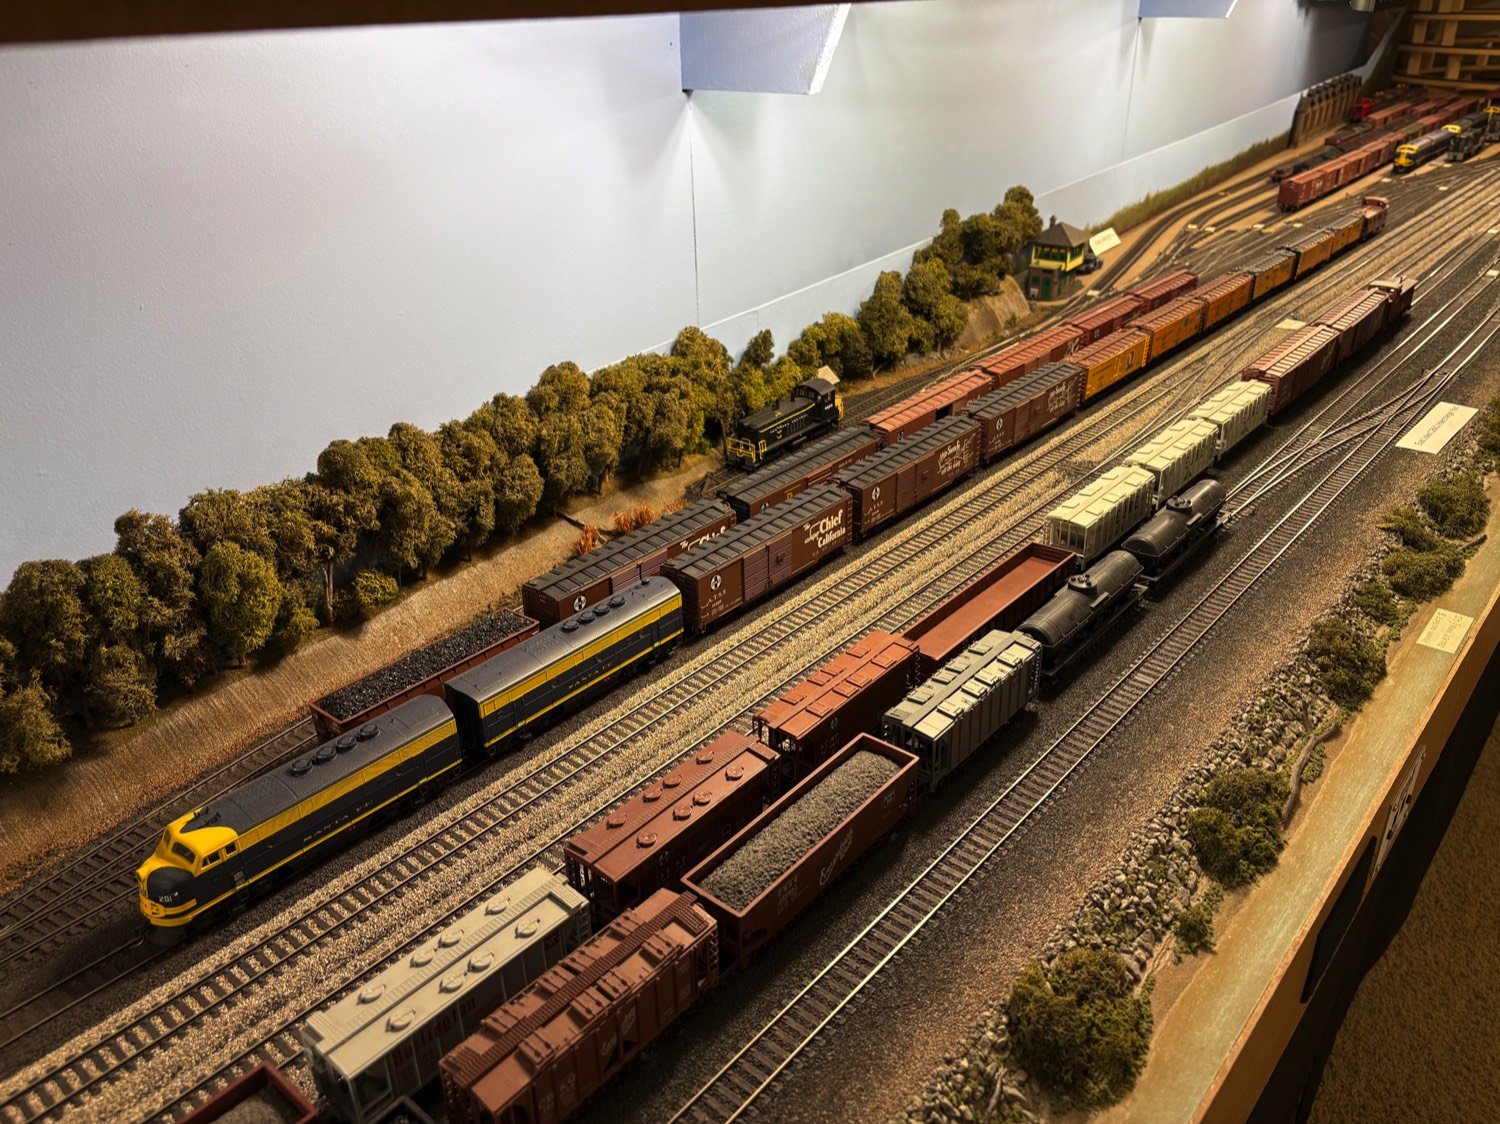
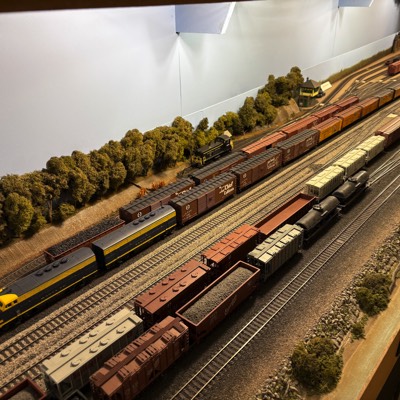
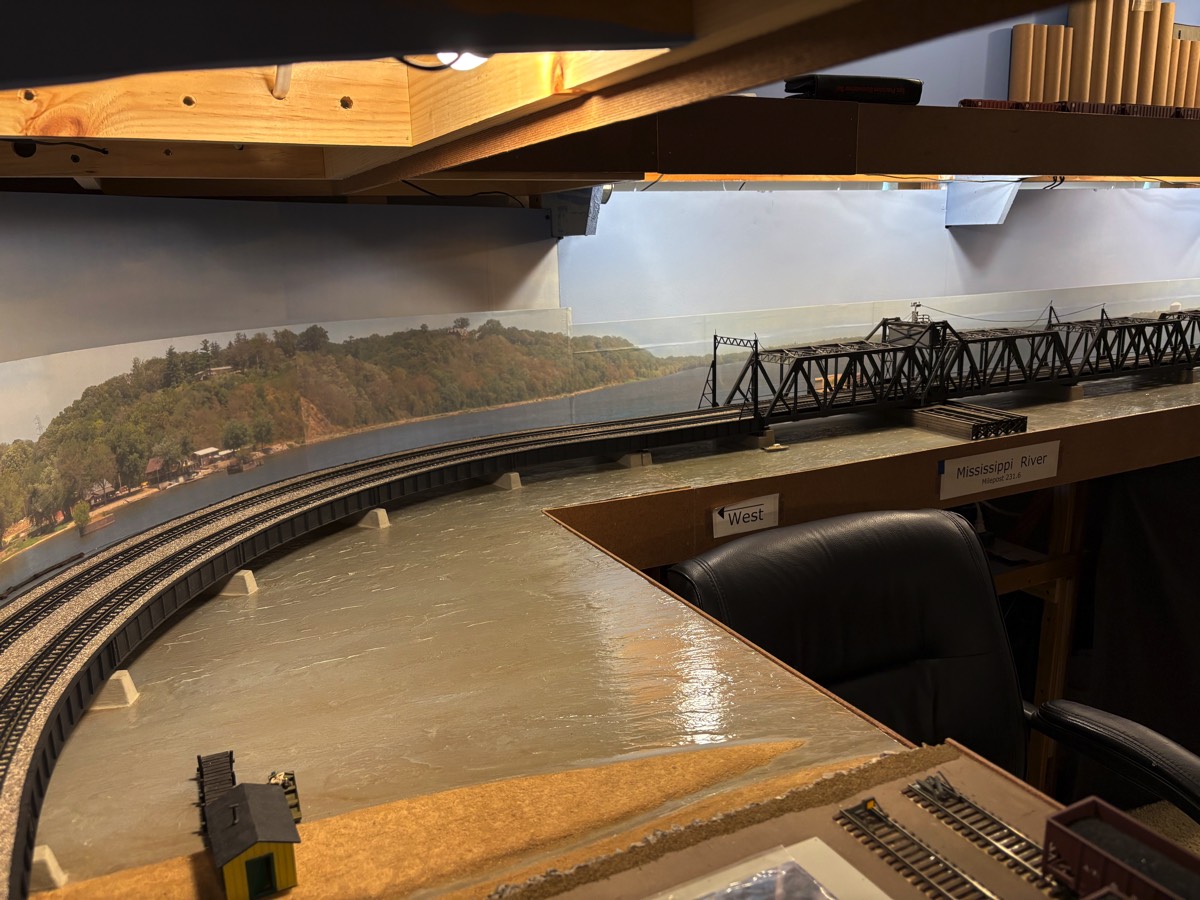
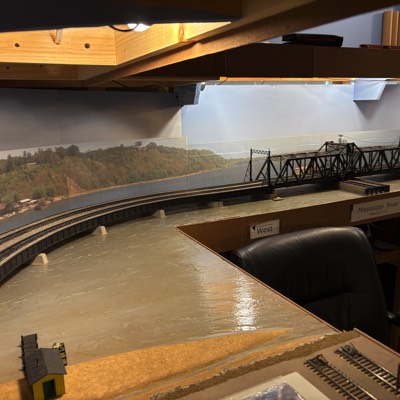
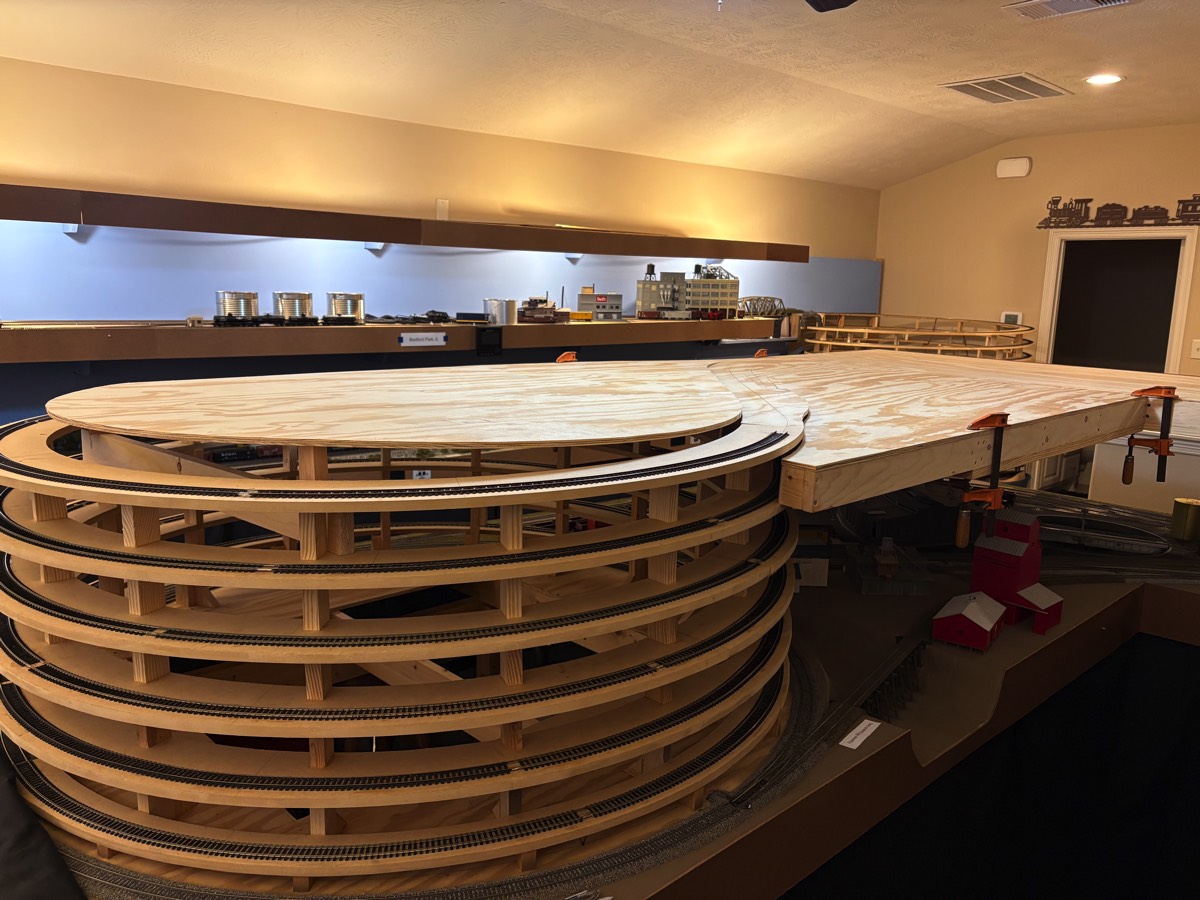
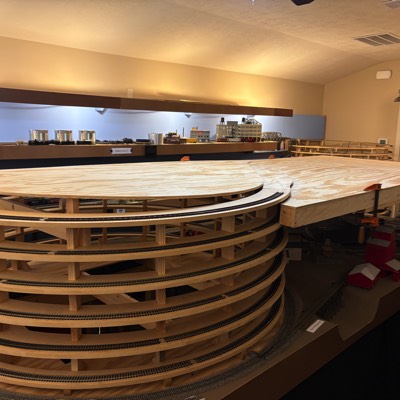
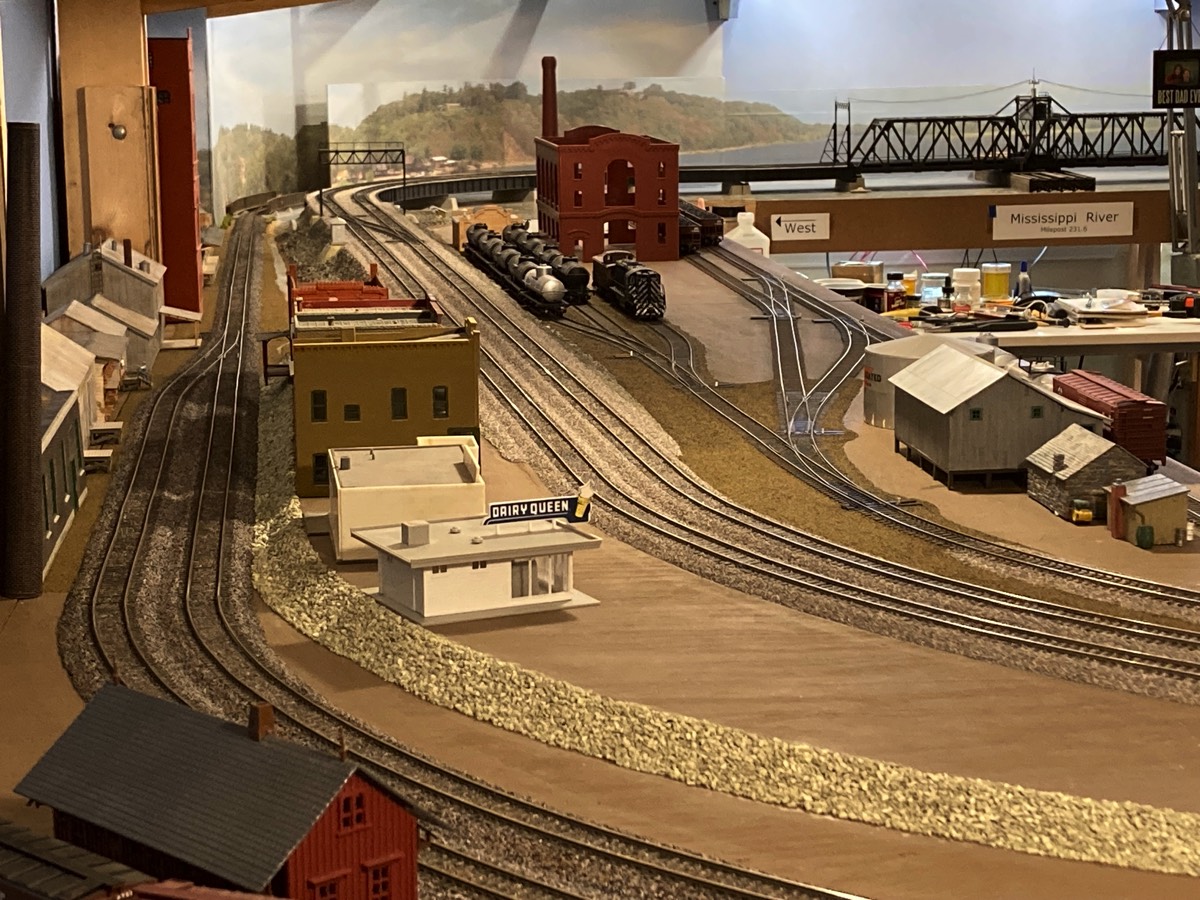
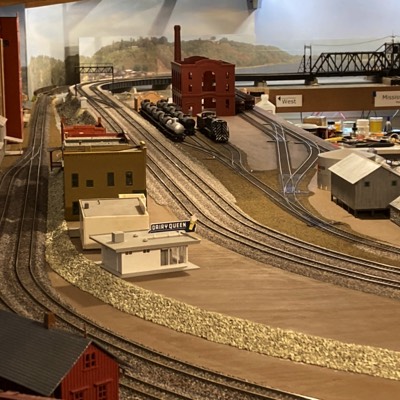
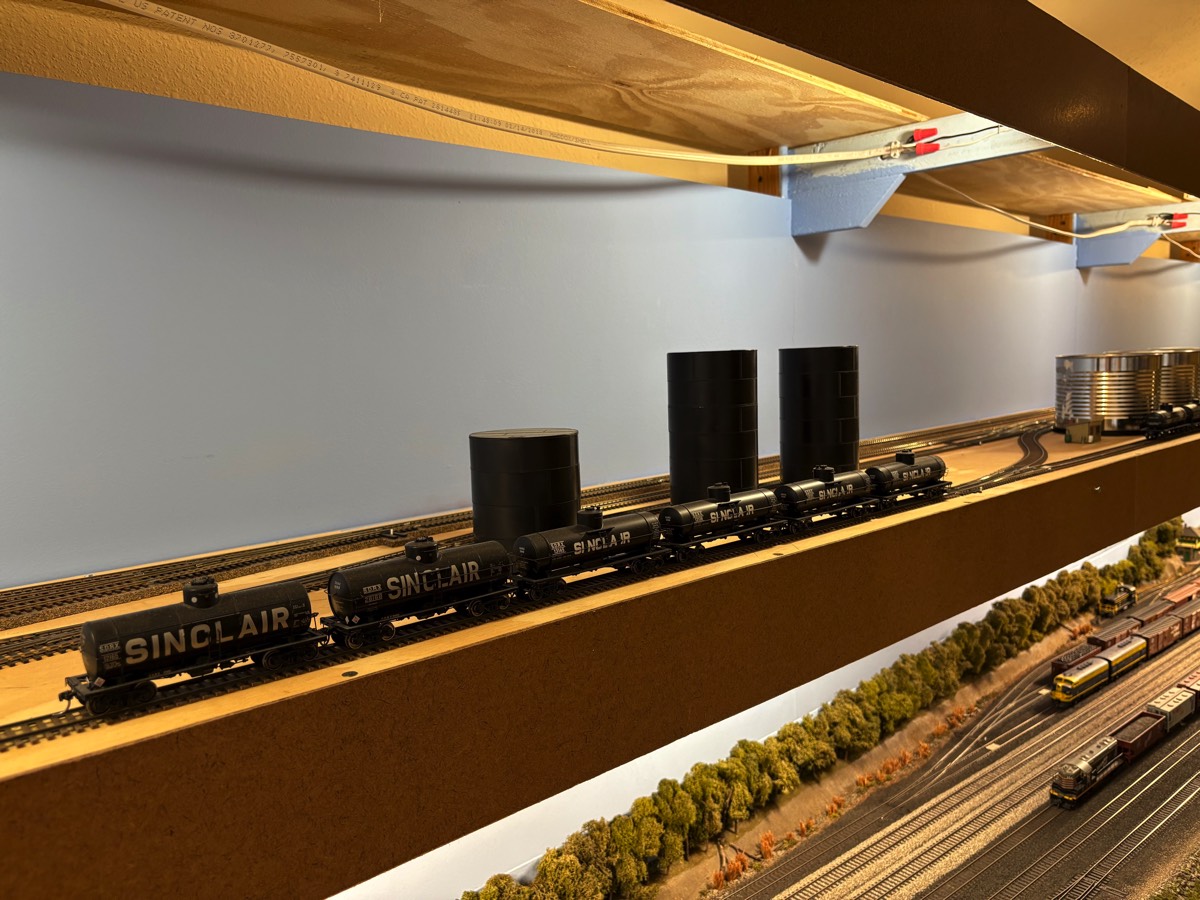
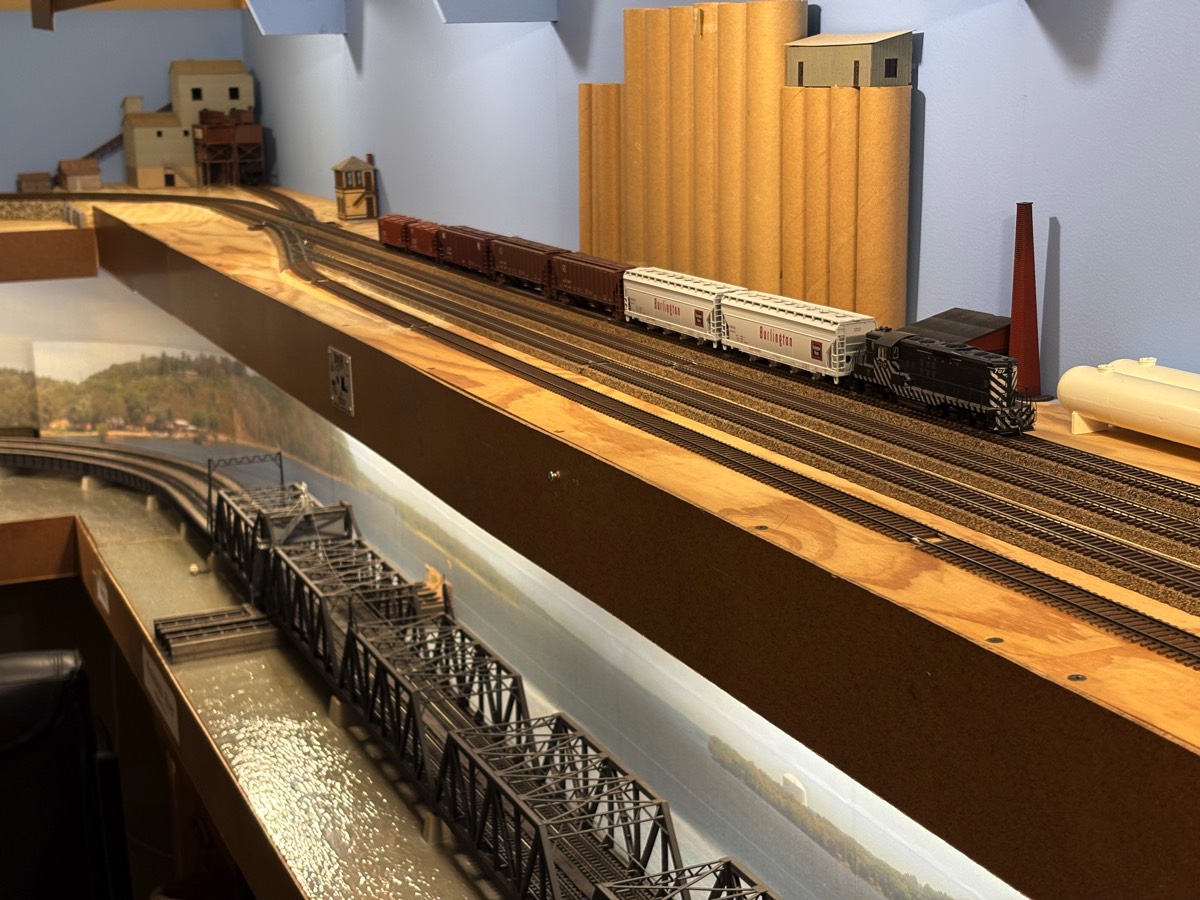
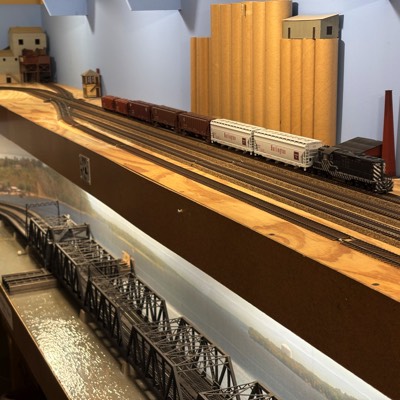
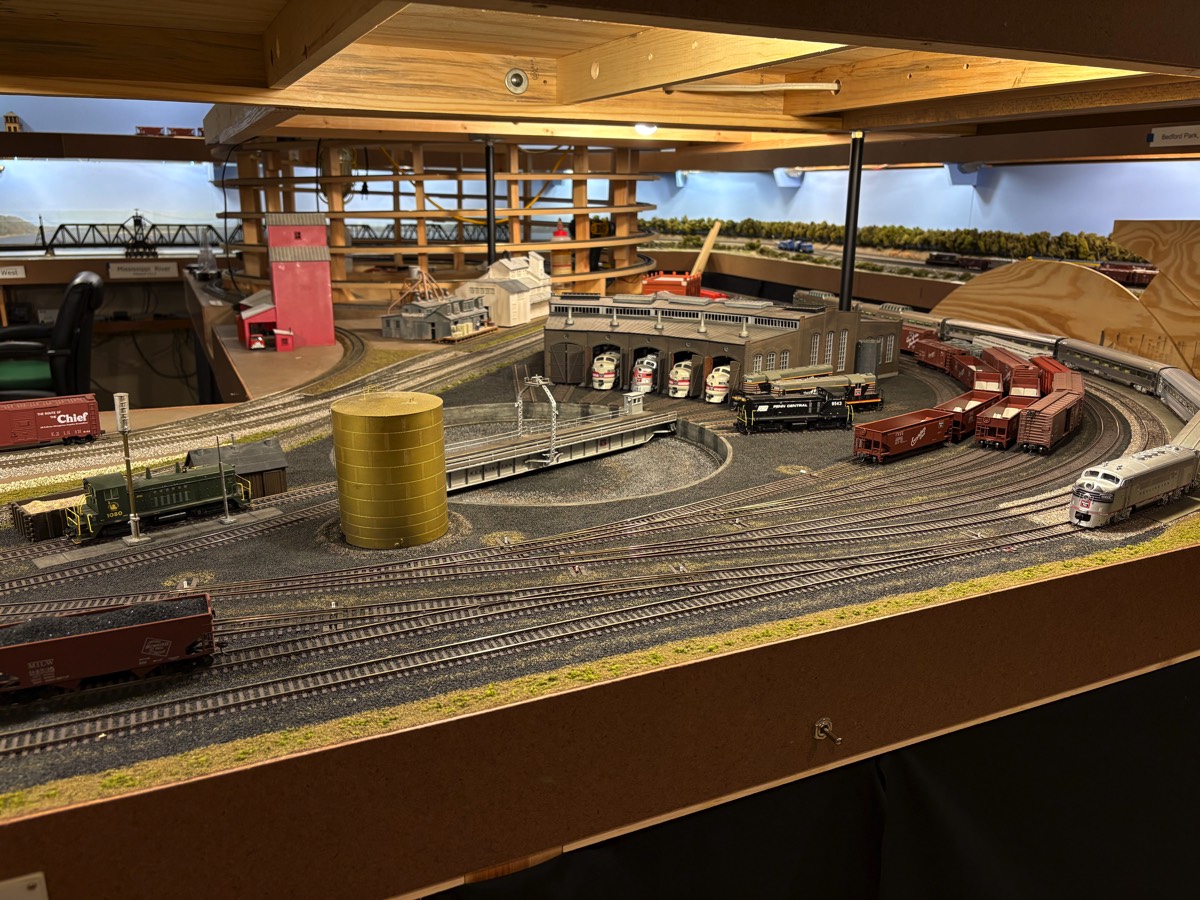
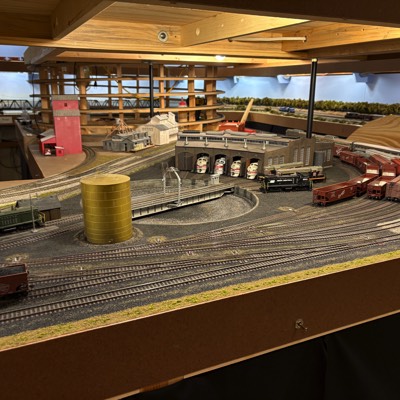
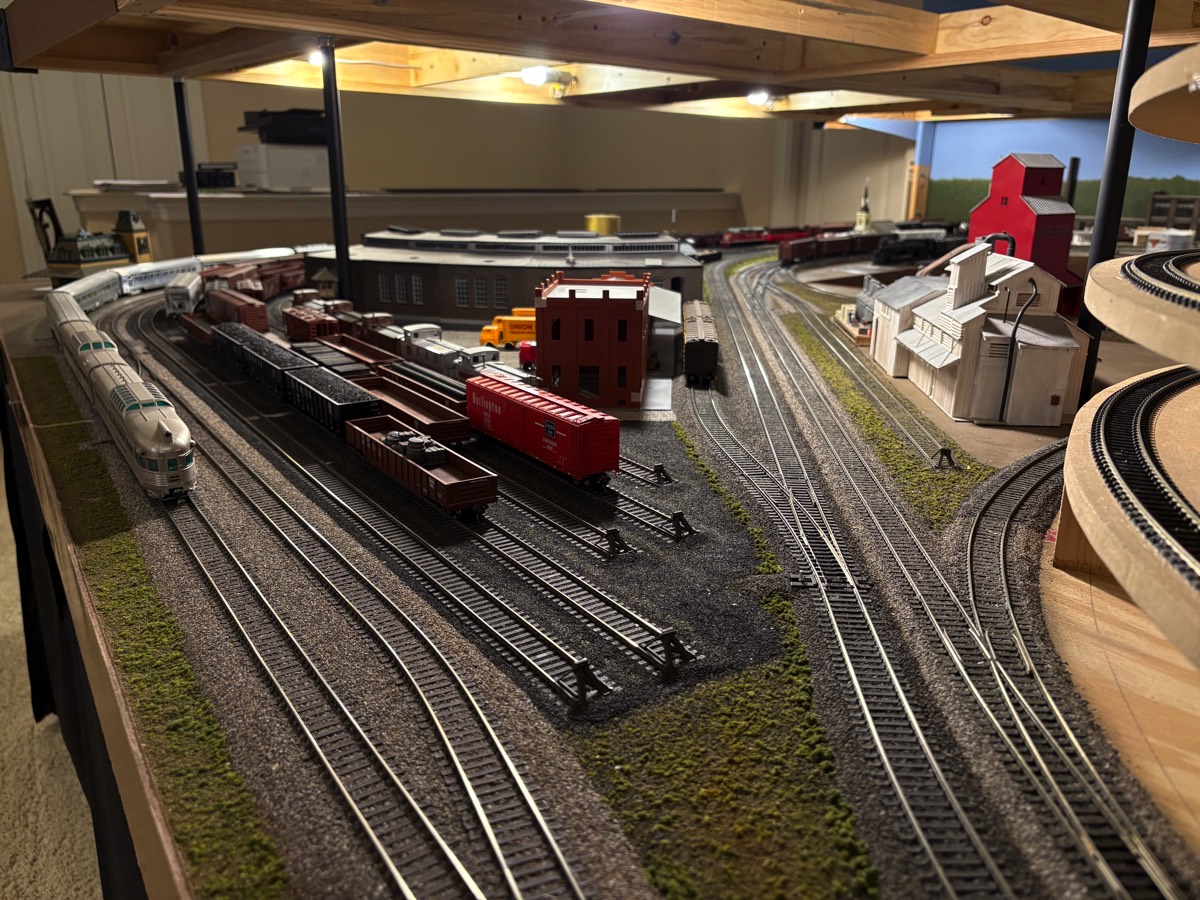
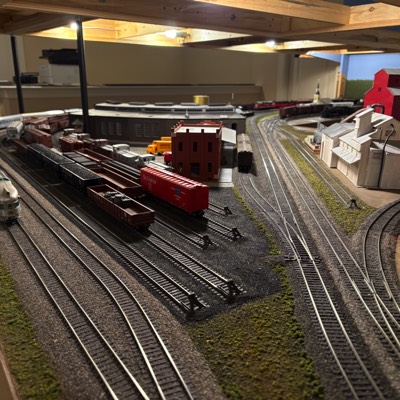
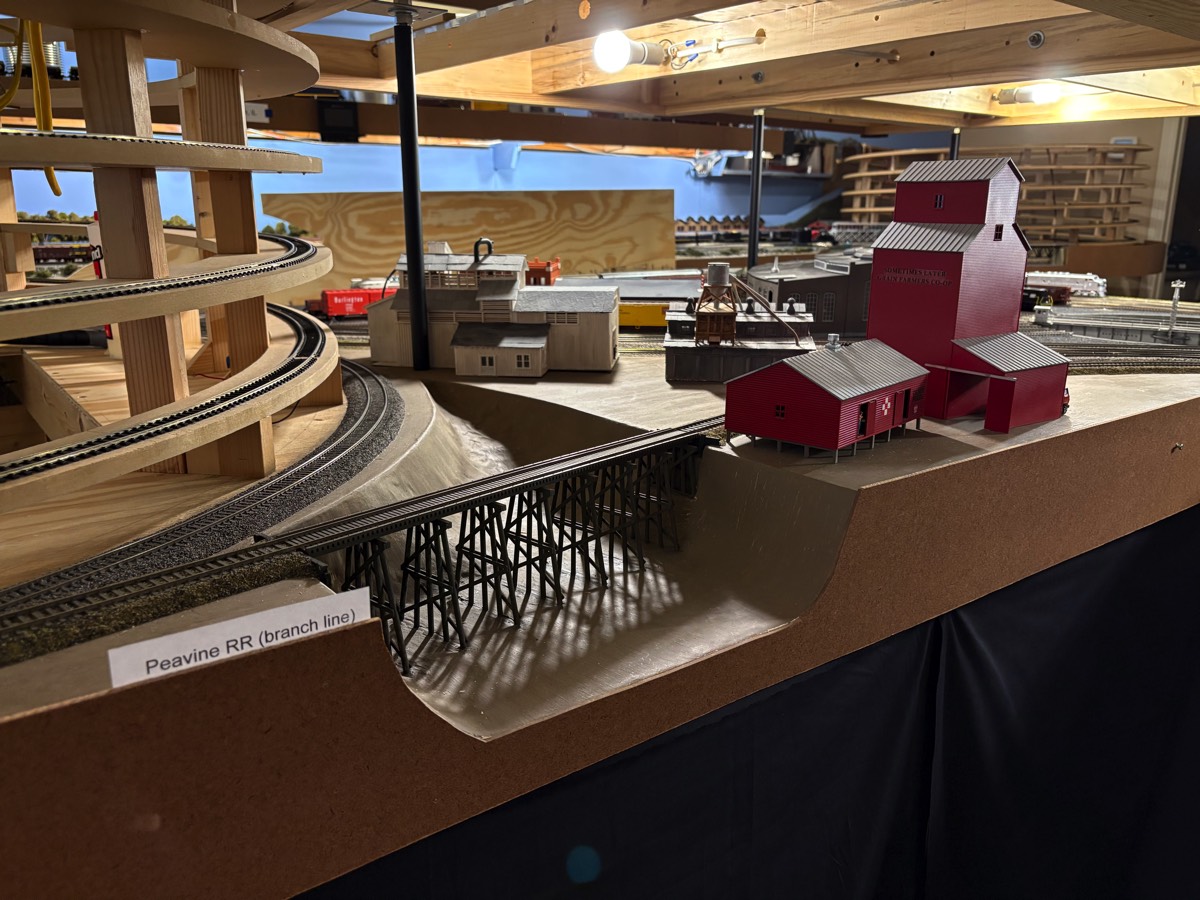
The layout consists of a lower level deck which features a Santa Fe double mainline railroad and swing span bridge crossing the Mississippi River at Ft. Madison, IA. Across the river is Joliet, IL where the Santa Fe freight yard with service shops and Burlington interchange yard are located. From Joliet, the Santa Fe climbs the helix to the upper level deck and crosses the I & M canal towards the industrial parks in Bedford, IL and further in Stickney Township. The Burlington Route also operates a single main on the lower level at Burlington, IA and includes a freight yard with a turntable and roundhouse, engine facilities, car repair and freight forwarding. The Burlington route departs Burlington, IA and climbs the shared main on the second helix towards other future industrial sites and connects with the Santa Fe main. A fiddle yard is planned to represent other destinations for both railroads such as Chicago, Quincy, Kansas City, and Omaha.
To Next Layout Description
Back to Layouts